
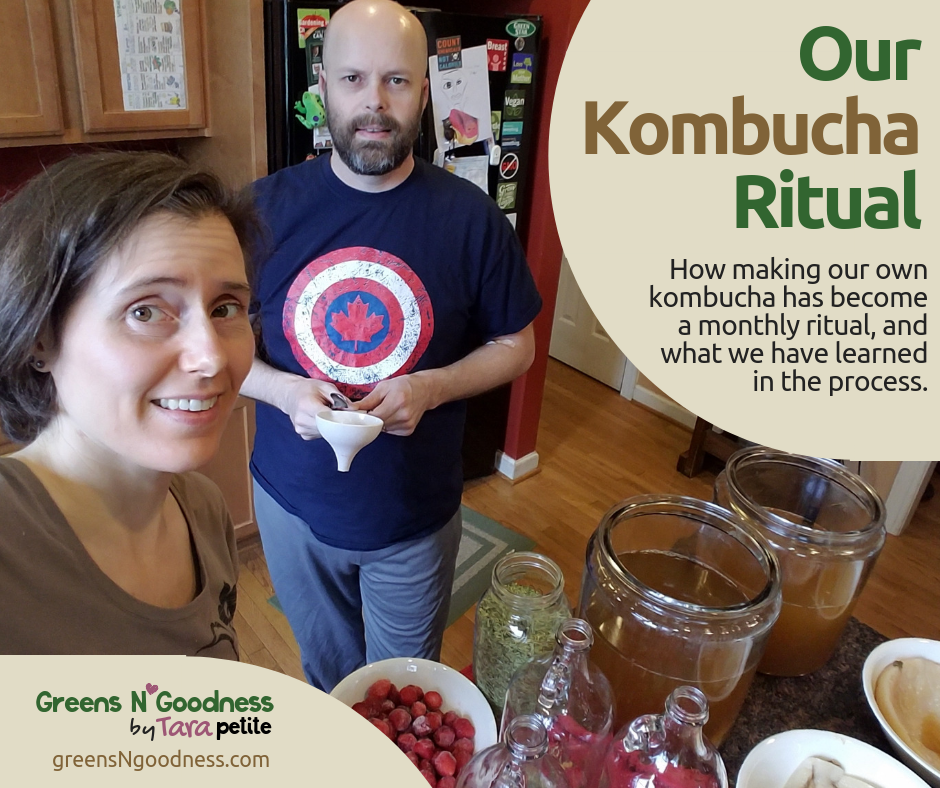
Do You Want to Make Kombucha?
If you are a bit of a health-conscious person, or have ever perused the natural foods section of your local grocery store, it is likely you have come across kombucha before. Maybe you have gone as far as even trying some! Next, intrigued by the product, you may have stumbled down the Google rabbit hole of information on the pros and cons of kombucha consumption? Then, after your hours of “research,” you arrived at idea that you would like to try to make kombucha yourself and see what all the fuss is about. Does this sound like you? Well, let me share with you our experience and how we make kombucha, and maybe it will help you along your path to enjoying the kombucha-making process, too!
THE ORIGINS OF OUR KOMBUCHA JOURNEY
Facilitating the cycle of the SCOBY, or making time to make kombucha, has been a monthly ritual of ours for many years. I am not sure what originally prompted our interest in this probiotic beverage. I know my father-in-law had dabbled with it way back, and we remembered his stories of friends that had touted the benefits of this “fermented mushroom” elixir. We had tried a few times, in earlier years, to make kombucha and get a routine going with it, making a batch or two, but never with any consistency. Then, as kombucha became more mainstream and began appearing in regular grocery stores, we started buying it fairly regularly, as a healthier beverage treat. After awhile, the cost of our regular consumption and the high sugar content of many commercial brands encouraged us to give making our own another go.
DOWN TO A SCIENCE
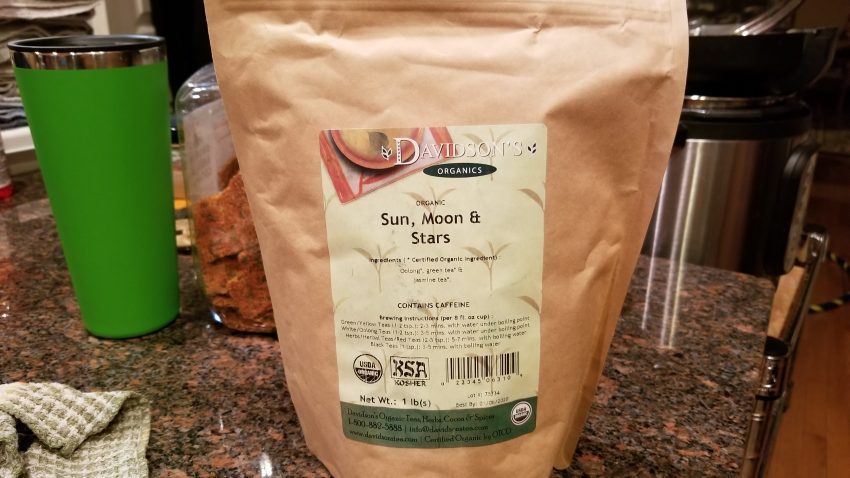
As we learned how to make kombucha, we experimented a bit in the beginning with different teas and sweeteners, but we quickly got it down to a science, just using an organic mix of green and black teas and organic sugar. Our favorite tea is the Sun, Moon & Stars mix from Davidson’s Tea, which we’ve used fairly exclusively for years. And, as with many things, once you find a system that works, it’s easier to keep it going. We did have a few experimental batches in the beginning, but we soon streamlined the process, and with a little teamwork, we bottle the previous month’s batch, start a new one, and, clean up the aftermath in under an hour.

HEALTHFUL ELIXIR OR TOXIC TEA?
Just because we make kombucha regularly and seem to have it down to a science, does not mean there is a lot, if any, actual scientific data to back-up the benefits to regular consumption of kombucha. There is an abundance of anecdotal accounts of its healing effects, in addition to stories claiming its toxic impact on health. My husband and I have consumed, maybe 4 to 10 ounces each, most days of the week, for years, without incident. While there may be health benefits, or even some level of toxicity, I guess it is minimal, because we have not noticed significant impact to our health, for better or for worse. We just enjoy the process and the taste, and allow ourselves to believe there are some probiotic benefits to the brew.
Nonetheless, when taking on your own kombucha brewing project, do your research, always ensure good sanitation, and make note of how you feel when you drink it regularly. Your own experience will likely be the most useful information you will get, with regards to its health benefits. But, with its popularity these days, I suspect more studies and research will be done on the topic. So, be sure to do an occasional Google search to stay up to date with the latest information and adjust your opinion of kombucha’s healthfulness accordingly. Even if you make kombucha regularly, there is always room for new information that might help you tweak your process or understand its benefits better!
SCOBY SEARCH
If you are ready to make kombucha and start brewing your first batch, you will need to get a SCOBY in some starter liquid (just some unflavored kombucha from someone else’s previous batch). Chances are, if you ask your on-line friends, you will be able to track one down with no problem. But, if your friend pool does not include kombucha enthusiasts and you cannot locate a nearby SCOBY, just head on out to your local health food store, or even grocery store, and get yourself a good quality bottle of UNFLAVORED kombucha to use as your starter. It will take a little longer to grow a good-sized SCOBY, but it will usually do the job. Make sure the commercial brew is, in fact, real kombucha, and not some flavored fizzy beverage with added flavoring and sugar.
We started our kombucha-making ritual with a SCOBY we bought online years ago, like this one, as well as, one bottle of GTS organic and raw original flavor kombucha for extra starter liquid. Since then, we have produced a surplus of SCOBY every month, saving some to pass on occasionally to friends who want to make kombucha, too! I have heard of people dehydrating the surplus SCOBY to make dog treats, but I think it makes good food for the garden, so we just put it in the compost pile to nourish whatever random things grow out there in our neglected garden patch.
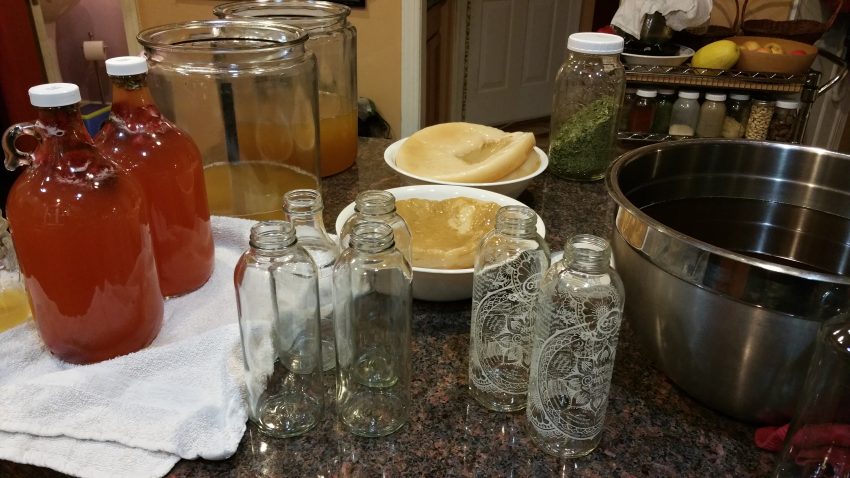
CONTAINING THE BREW
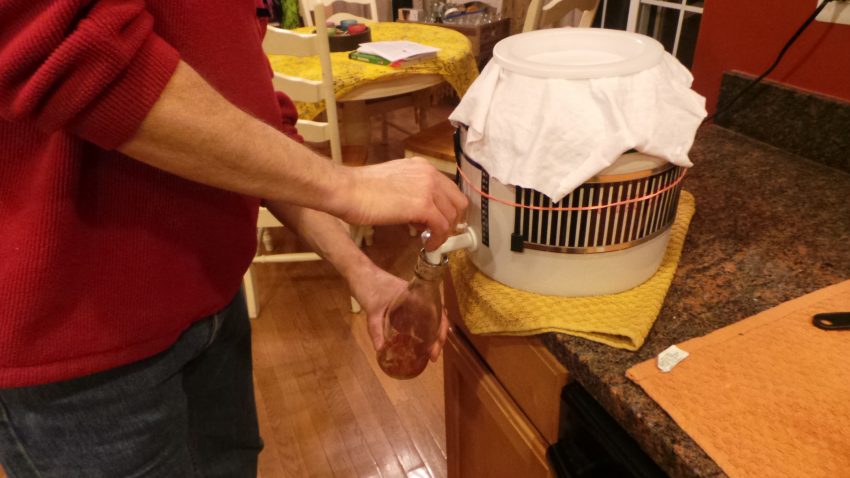
At the onset of our challenge to ourselves to make kombucha regularly, we explored all the options for housing our symbiotic cultured concoction. At one point, we tried the continuous brew method, using the bottom porcelain part of a water dispenser. This method has its perks, with never really having to remove the SCOBY and just pouring fresh tea in every month, after using the spigot to fill bottles, draining the last batch down to just the SCOBY and a bit of starter liquid left in the container. However, since we let our batches brew a full month, I found, from a sanitary standpoint, I just feel better washing the jars each month and starting fresh. Plus, the spigot at the bottom ended up being more messy than it was worth. Not to mention, we enjoy brewing in clear jars, so we can easily peek in and see what’s going on in there!
Next, we thought multiple half gallon mason jars would be easier to replace, store and move around. However, we found that, accounting for evaporation, displacement by the SCOBY, and saving a cup as the starter for the next batch, doing two half gallon jars per month yielded less than a gallon of finished kombucha. This did not seem like enough for our efforts. We could have simply done six or eight half gallon mason jars, but it seemed easier to just upgrade to larger containers. If you are only going to make kombucha for yourself, brewing in these might be fine for you. You really have to just get started, decide on how long your brew cycle is going to be, and how much you end up consuming each cycle. That will help you gauge the best size containers for long-term use.
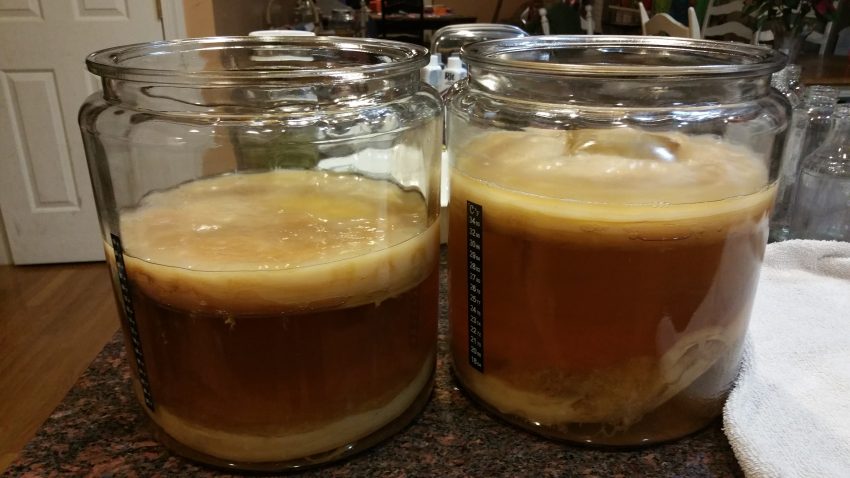
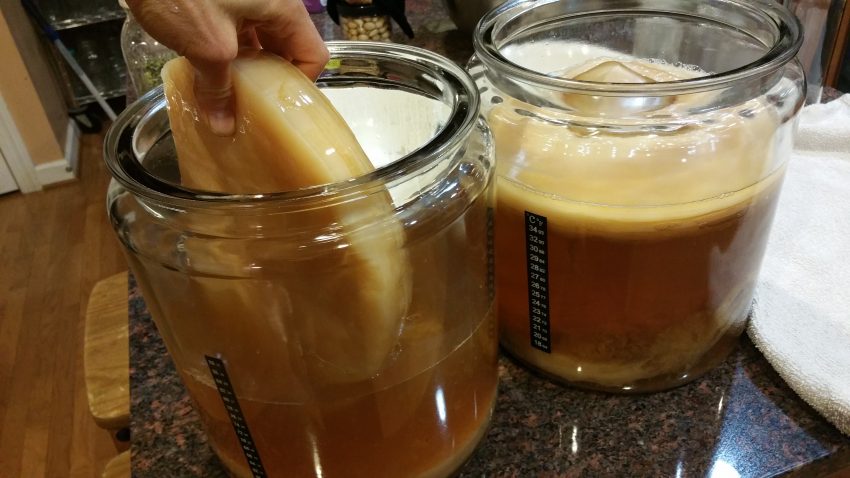
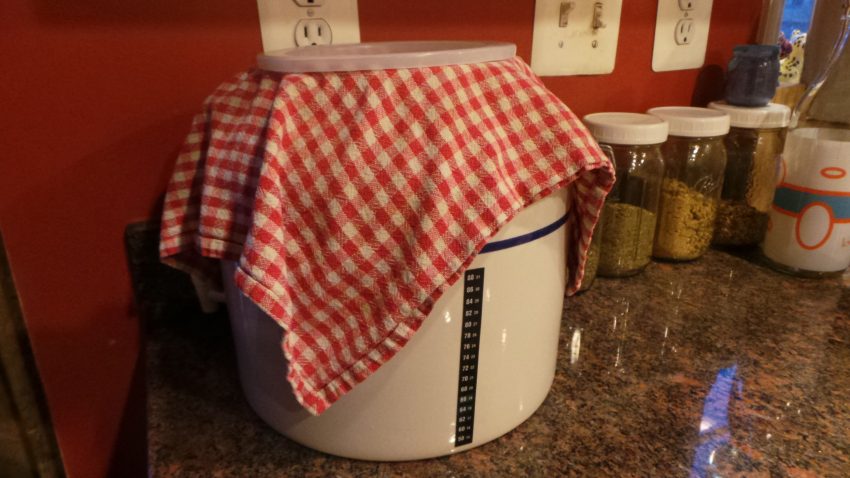
Eventually, based on our needs, we settled into some simple 2 gallon jars that have been a good fit for our routine. We drink kombucha, at least, four to five times per week, our kids drink a little here and there, and we love to share it with friends and at potlucks. So, brewing two, 2 gallon jars per months allows us to always have a bit of a surplus on hand. These jars, also, allow the SCOBY to grow quite large, as well as, make it easier to remove the SCOBY, as unlike the mason jars, the top of the 2 gallon jars is not tapered. We have had these jars for almost four years, and they are holding up great. They are a little more awkward to carry or move around when they are full, but, I have no problem carefully carrying them a few feet to set in their monthly resting spot. Nonetheless, when you decide to make kombucha, its good to experiment with different containers and decide which one best fits your needs.
TEA TIME
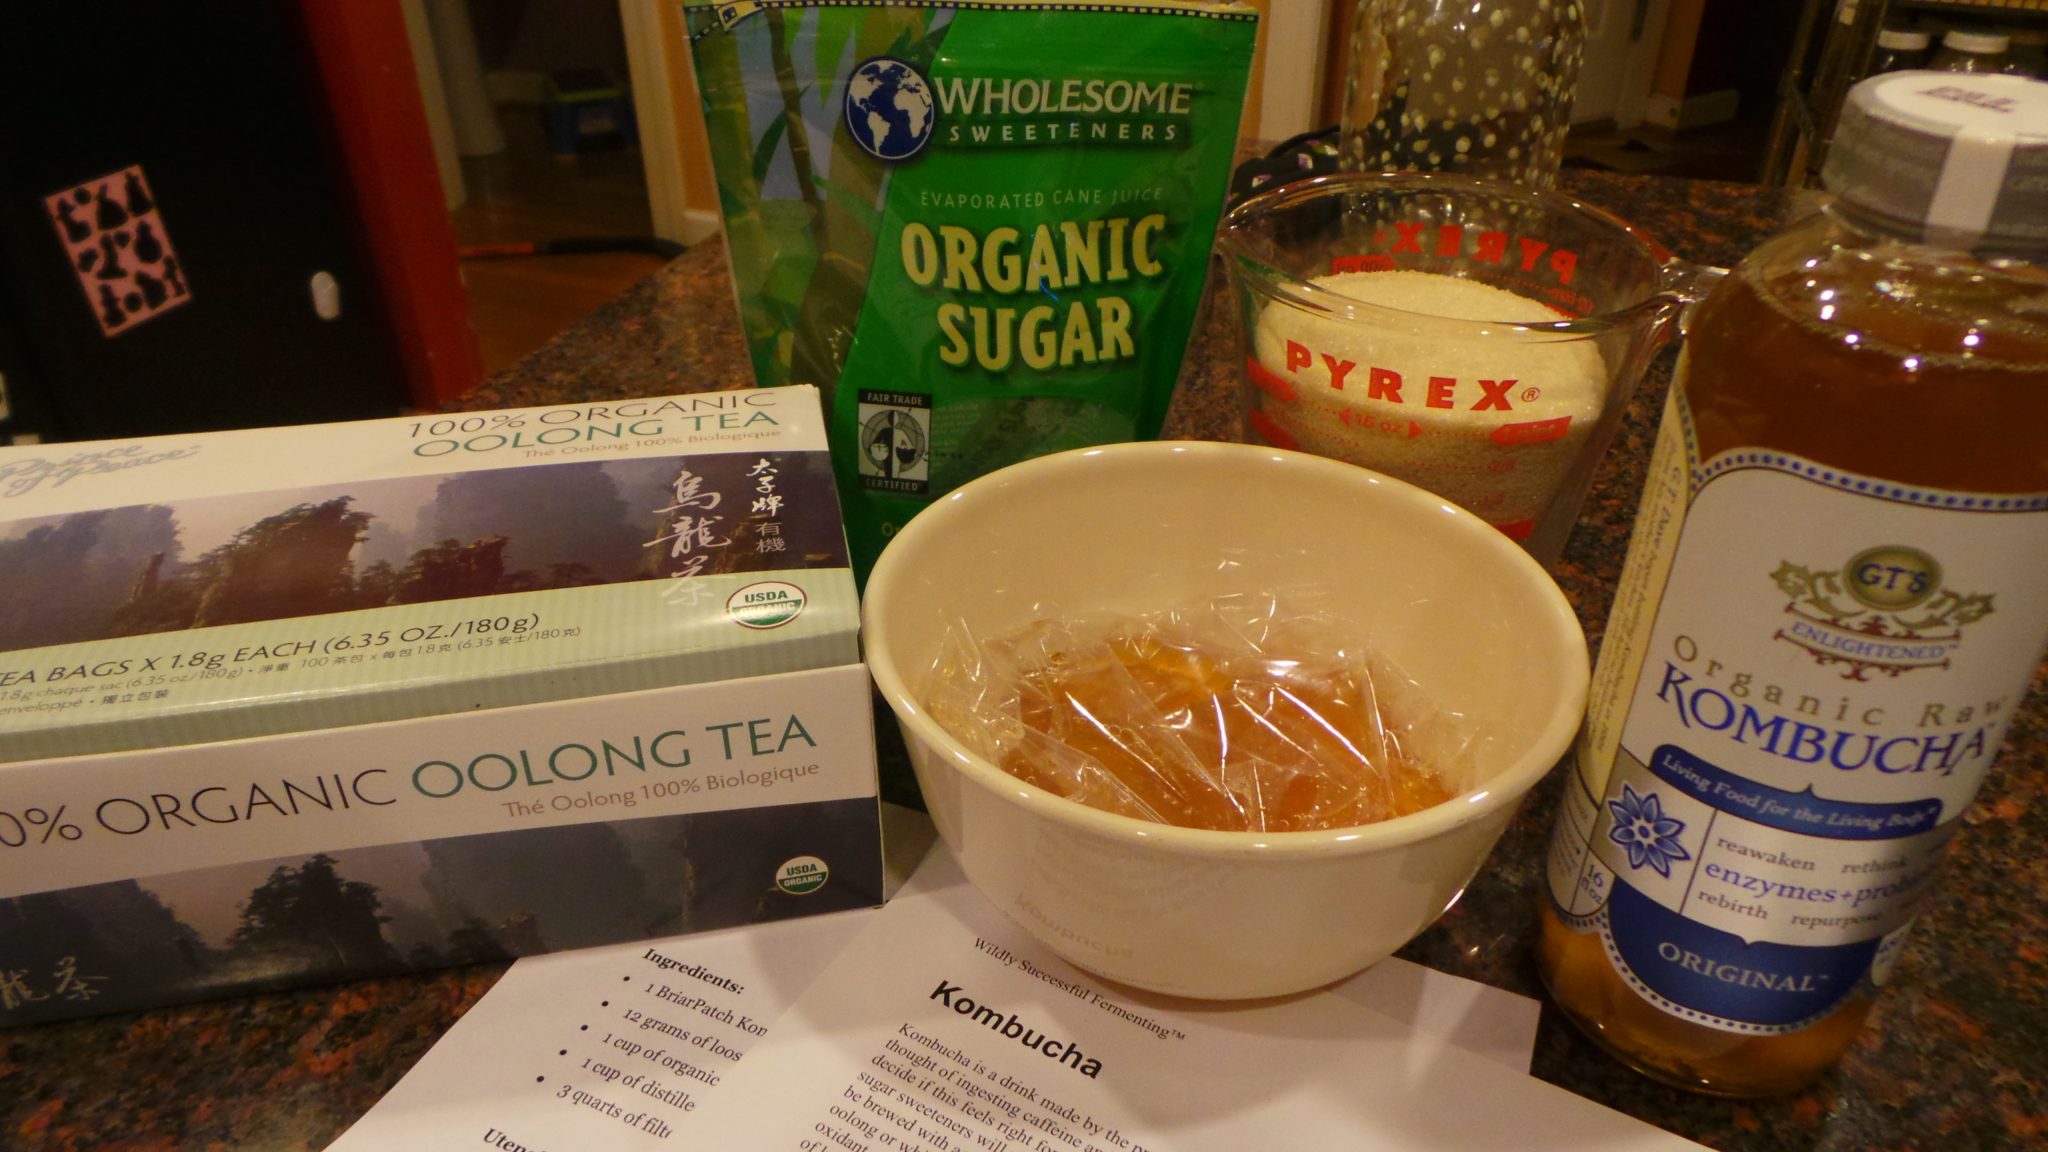
Now that you have obtained your SCOBY, it’s time to make your tea! Herbal tea will not work for kombucha. The SCOBY feeds on the caffeine and sugar to grow. And, you want a tea with no additional additives or flavors. We like Sun, Moon & Stars mix from Davidson’s Tea, which we subscribe to bi-monthly on Amazon.com. We use two 2 gallon jars, which requires about 3 and a half gallons of tea to fill, leaving room for the SCOBY and starter liquid. Therefore, to make kombucha, I need to brew a large amount of tea.
However, since I do not have a pot that holds almost four gallons of liquid, I simply brew a big pot (probably around 1.5 gallons) of very strong tea, and I add water to the concentrated tea in the final stage. Since I am using loose leaf tea, I never exactly measure my amounts. But, I estimate I use around 3 cups of dried tea to make my concentrate, which is diluted when added to the jars. If you are using bagged tea, I believe the ratio is around 8 bags of tea per gallon of water. Again, when you decide to make kombucha, the types of teas and quantities are some things you will have to play around with to find your preference. But, these are good guidelines to get you started.
After our tea is brewed, I boil another small pot of water, in which I dissolve the organic sugar (1 cup per gallon), that I add to the tea after. For smaller batches, making one pot of tea, and dissolving your sugar right in that pot, while the tea is hot, works fine, too. But, I have just got my own system going and it works well for the amount of tea we use.
When we first started to make kombucha, I hated using plain organic sugar, as I avoid it in my diet wherever possible. I thought maybe we could use more “natural” sweeteners like coconut sugar, or even, reduce the amount of sugar we used. These attempts never went well, producing funky mold or just a weird taste. Henceforth, I never skimped on sugar, but I am, also, careful not to add more than the necessary one cup per gallon. Because we let our kombucha brew 20 to 30 days, starting with a little stronger tea and adequate sugar seems to produce a balanced flavor over that time, with most of the sugar being consumed by the SCOBY. We have tried less sugar before, but usually would end up with a stronger, more vinegary taste at the 30 day mark. So, we stick with 1 cup of organic sugar per gallon of tea.
Finally, remember to let your tea cool to room temperature before adding the SCOBY. High heat can damage the culture, or render it unusable. So, don’t get impatient in your effort to make kombucha. I make my tea several hours before we plan to start our batch, and go busy myself with something else in the meantime.
FINDING YOUR CYCLE
Kombucha can be “brewed” anywhere from 7 to 30 days before it generally starts getting a wee-bit too tart and vinegary for most people’s taste. This is general knowledge we originally acquired from the Internet. But, we have, also, proven this to be true in our own experimentation. Going beyond 30 days starts crossing over into the vinegary realm. The longer your brew it, within the 7 to 30 day window, the more sugar and caffeine the SCOBY gobbles up. At least, that is how it has been explained to us. Many of the commercial kombuchas are brewed for 7 to 10 days for the first round, then another few days after it is bottled and flavorings are added. This results in a more mild and sweeter taste. When you decided to make kombucha, you will have to experiment with your brewing times over a few cycles to find your “sweet” spot.
Temperature will impact the brewing process, too. We have been told that between 70 and 80 degrees Fahrenheit is ideal, and that higher temperatures will yield a stronger kombucha more quickly. Our home’s artificially induced climate is generally set around 70 degrees, but we also use a kombucha heater strip to ensure consistency of temperature.
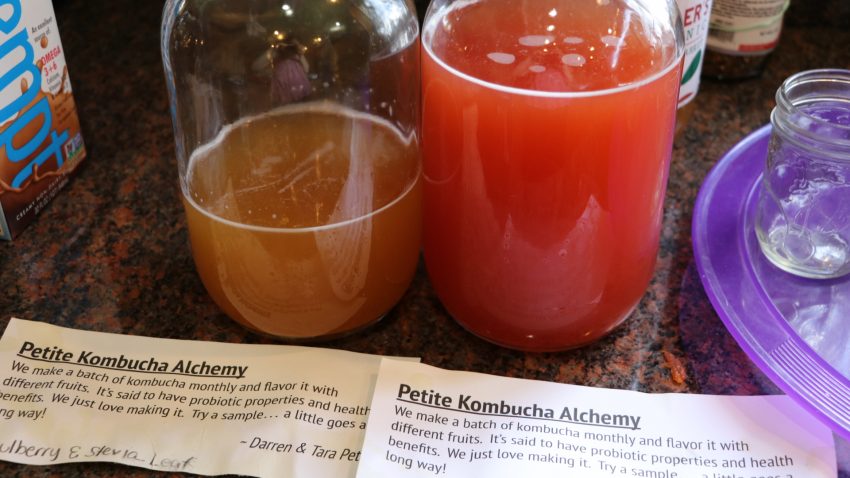
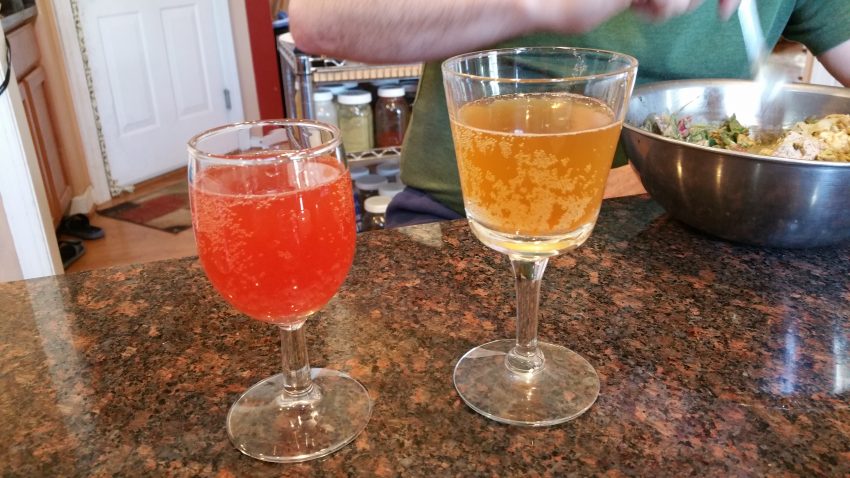
We like to brew right up to 30 days (sometimes 20 if it smells strong already), bottle and flavor, then let sit for another 3 to 7 days before refrigerating. When adding our flavorings (usually fresh or dried fruit, we throw in a pinch of dried stevia leaf, to offset the tartness, while keeping the sugar lower). Most people that like kombucha and try ours enjoy it. But, we have had a few newbies to the kombucha experience say they feel like it was too strong or sour for their tastes. And, of course, if given the choice, our kids would generally choose a bottle of store-bought, sweeter kombucha over our home brew. So, as you embark on your journey to make kombucha, you really have to experiment with your preferred taste and adjust your cycle accordingly. You can do this by sampling it after 10 days to test its sweetness, and every few days after, until you reach your desired balance of sweet and tart.
FLAVORFUL ADDITIONS
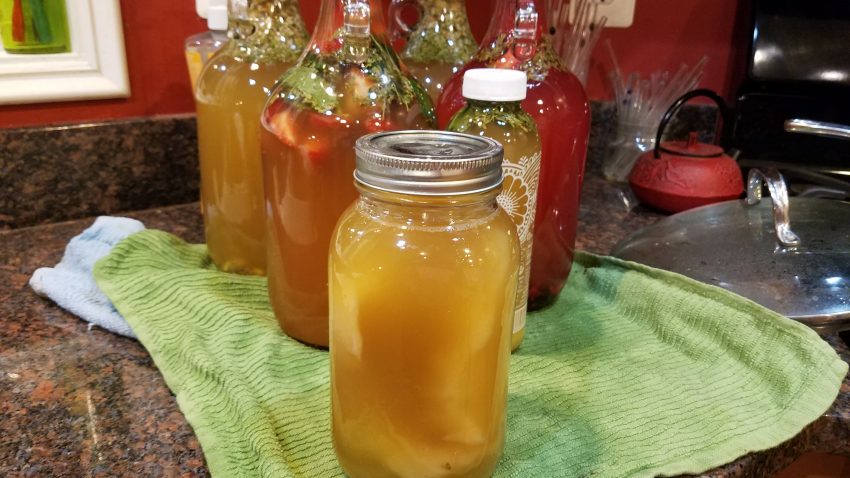
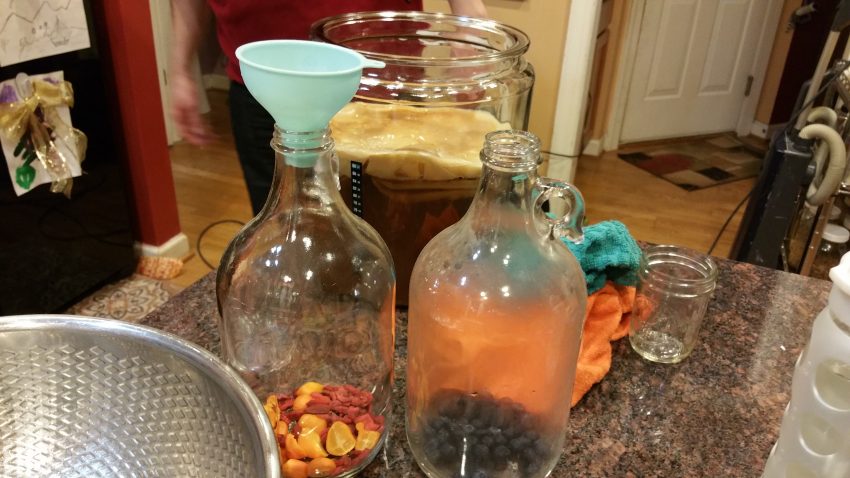
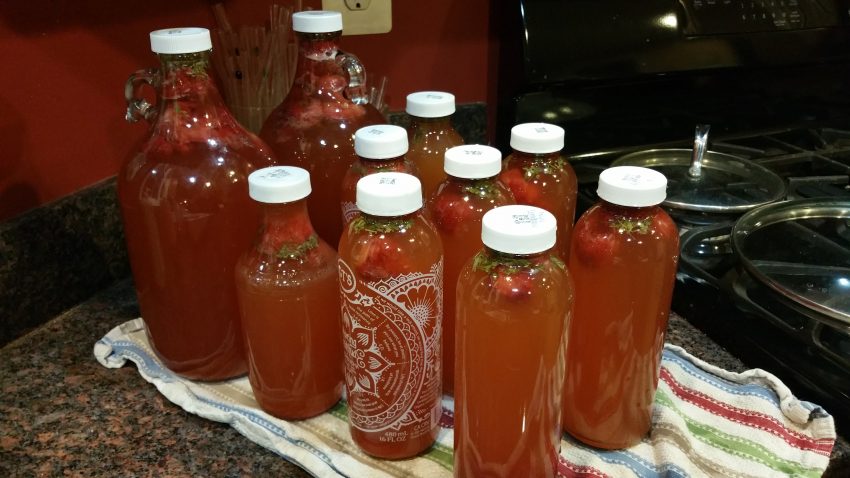
Since we always have a batch brewing, every month we start by bottling up the last month’s batch into 64-Ounce/Half Gallon Clear Glass Kombucha Growler Jugs, adding whatever flavoring suits our fancy that month. You do not have to flavor it. We just like experimenting with different fruits and herbs, and enjoy the creativity and variety of flavors we end up with. Our most common flavorings include:
- Fresh, organic chopped ginger
- Frozen organic fruit (whatever is left in the fridge from the smoothie stash… strawberry, pineapple and mango make good additions, as well as, mixed berries and cherries).
- Dried organic fruit – we often use dried goji berries and dried mulberries as a quick and easy addition.
- Dried organic stevia leaf (this is better for longer brew cycles, to offset tartness; we use about a tbsp per half gallon jug)
Once you have bottled your kombucha with your chosen flavorings, it is time to set it aside on the counter, or less-trafficked area of your home, to do its work to make kombucha magic for a few more days. At this stage, we leave ours to “gather fizz” for another three to seven days. It usually depends on when we remember to stick it in the fridge, so it chills up to drink.
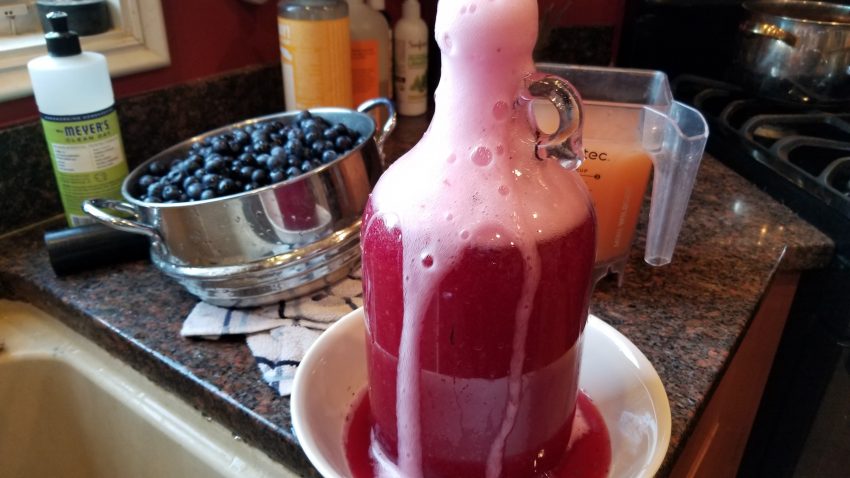
THE POWER OF THE FIZZ
While sitting, bottled with its flavorful additions, the kombucha will become naturally fizzy. Many things seem to impact the degree to which it gets more bubbly, none of which we have been able to deduce with any clear logic or consistency. So, the magnitude of force that can come from the lid can vary greatly, regardless of how long you leave it or what you add to it. We have had a couple volcanic kombucha explosions. We will paint the ceiling to hide the stain someday. Accordingly, as we learned to make kombucha, we also learned to keep a firm hand on the lid when opening the final product, and to “burp” it a bit to test whether it is going to be a big “fizzer” or not. So, be forewarned, and temper your excitement to try your new creation with caution when you open that first lid!
KOMBUCHA WISDOM
Kombucha is not just a beverage, or a potentially healthful addition to your lifestyle. There is some ritual that becomes attached the process when you make kombucha yourself regularly. It becomes a thoughtful pause in busy routines, the catalyst for conversation at gatherings, and a unique gift for the holidays. And, whether its long-term consumption will prove to be beneficial or not, the act of making it reminds us to be mindful of the moment, patient with the process, and reverent towards our natural environment that facilitates the transformation of tea and sugar into a probiotic-rich beverage. Hmm… Symbiotic Culture of Bacteria and Yeast… maybe in the SCOBY, there is a metaphor for the relationship between people and our environment. However, I’ll leave that for you to ponder while you gather your supplies and get ready to make kombucha yourself!

DISCLAIMER
Despite many years of experience brewing it for our family, I do not claim to be an expert on kombucha, and my advice should be taken with a grain of salt (or a chunk of SCOBY). I cannot be held responsible if you create a noxious brew of moldy or contaminated kombucha and proceed to make yourself, friends and family ill consuming it. Please do your research, ensure proper supplies and sanitation, and be smart with your experimentation. Enjoy!
VIDEO: HOW WE MAKE KOMBUCHA
A couple years ago, my husband and I grabbed the camera during one of our monthly kombucha-making rituals, and documented our evolving process. If you would like a visual to put with my written kombucha story, feel free to head on over to YouTube and watch it.
Just a Recap of What You’ll Need to Get Started:
- 1 to 2 gallon glass jar (We use these 2 gallon jars)
- Breathable tightly woven cloth & rubber bands to cover the top of your jar(s)
- Organic black and/or green tea (We like Sun, Moon & Stars mix from Davidson’s Tea)
- Organic sugar
- Water, preferably filtered
- SCOBY (Symbiotic Culture Of Bacteria and Yeast)
- A cup of plain kombucha from a previous batch (or someone else’s) for the “starter’
- Flavorings (when it’s time to bottle your brew, you can add things like ginger, fruit or herbs)